- Joined
- Mar 26, 2024
- Messages
- 788
- Reaction score
- 531
- Location
- Sacramento, CA
- Website
- trail4runner.com
I just wrapped up installing the Peak Suspension 2-piece collar lift kit on our 2025 TRD Off-Road 4Runner and wanted to share some notes and photos for anyone considering this setup.
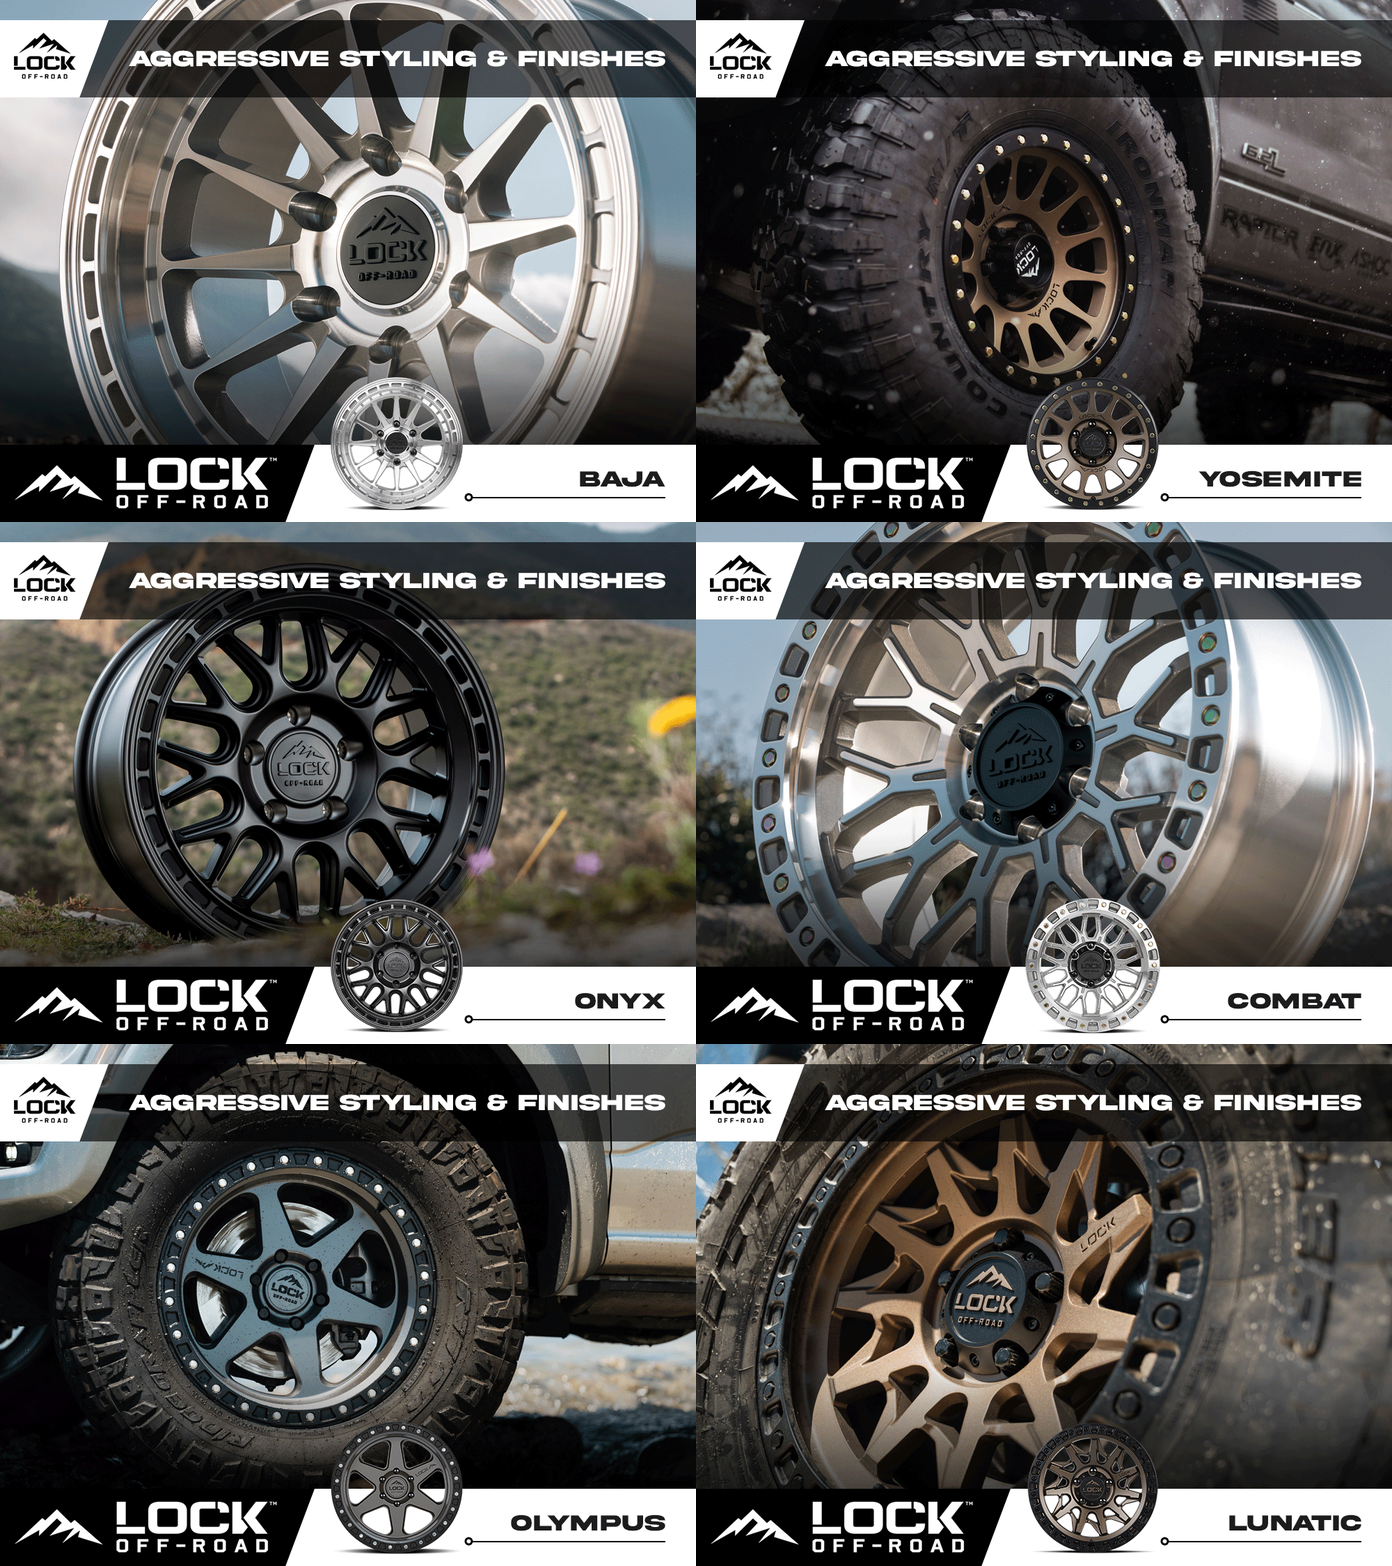
The kit provides a true 2.25" lift up front and about 2" in the rear, which gave us the clearance we needed to mount a set of 35" Arroyo Mud Terrains on Lock Invader Beadlocks (+25mm offset).
Peak mentions that little to no trimming is needed, depending on tire size and offset, but I can confirm that trimming is definitely required with true 35s, especially with the +25mm wheels. I’ve included detailed shots below showing the full installation process, where trimming was needed, and how the 4Runner sits now.
Find it online: https://www.peaksuspension.com/product/2025-toyota-4runner-2-piece-trail-kit-2-25-lift/ref/18/
Kit details:
- CNC machined billet aluminum construction
- Anodized coating for corrosion resistance
- No cutting or grinding required to install the lift itself
- Fits all 2025+ Toyota 4Runner models
- Alignment recommended after installation
- Designed, tested, and manufactured in the USA
- Top spacers
- Lower spring seat adapters
- Rear Spring Spacers
If you have access to a shop with a wall-mounted coil spring compressor, that’s going to be the easiest and safest way to remove the spring from the coilover and install the preload collar spacer on top of the lower perch. I’ve used handheld spring compressors before, and they can be pretty sketchy—I wouldn’t recommend doing this in your garage with basic hand tools. That said, if you’re trying to save a few bucks, you can always pull the coilovers yourself at home, then bring them and the spacers to a shop with a proper wall-mounted compressor. That way, you’re only paying for an hour or so of shop time instead of a full install. We took the 4Runner to StellarBuilt in Sacramento for the full installation.
Front Installation
1. Remove Sway Bar
Get started by removing the sway bar in the front. There are two clamps on the frame rail and a mounting point on each lower control arm. Disconnect all four bolts and remove the sway bar.
2. Disconnect Coilovers, Remove Cam Bolts & Drop Lower Control Arms
Start by removing the coilover itself. Remove the lower control arm bolt holding the lower shock eyelet in place, and then remove the four bolts in the shock tower. Once the coilover is free, you can use a rubber mallet to knock the lower eyelet off the mount.
You have a choice on how you would like to approach the actual removal of the coilover.
- Remove the cam bolts and drop the lower control arms from the frame.
- Remove the spindle bolts and drop the lower control arms from the spindle.
3. Remove Coilover and Insert Preload Collar Spacer
Once you remove the coilover, it's time to disconnect the top hat and then install the preload spacer.
4. Install Top Hat Spacer
Now, mount your coilover top hat spacer. The spacers are driver/passenger side specific, and they can only go on one way. If the holes don't line up initially, just keep rotating the spacer until it drops over the four bolts. Before reinstalling the coilover, prepare the four bolts with red Loctite.
5. Reinstall Coilover
Slide your coilover back up and into place, holding it in place with loosely tightened bolts on top of the coilover.
6. Reinstall Coilover on LCAs & then mount LCAs
Reinstall the lower shock eyelet onto the lower control arms and remount your LCAs.
Reconnecting the LCAs can be a little bit tricky, but if you have a friend and a long crowbar, it's easier.
With the help of a friend, push the LCAs as close as you can get them to the cam bolt mounts and line everything up. While one person is holding the LCA in place, another can use a crowbar from one point underneath the LCA and another point inside the cam bolt mount. Lift up on the LCA, and it should slide over the crowbar into the cam bolt mount.
7. Reinstall Sway Bar
The last step on the front is just to reinstall the sway bar bracket into place, and you're all set.
Again, having a friend help you with all these steps will make everything go much faster and easier.
Let's look at what the rear installation looks like.
Last edited by a moderator:


