TRD Pro Grille Install 6th Gen 4Runner

Trail4R

Administrator
Staff member
Joined
Mar 26, 2024
Messages
785
Reaction score
527
Location
Sacramento, CA
Website
trail4runner.com
IG
Visit Instagram

TRD Pro Grille Swap on 6th Gen 4Runner - Not Fun, but worth the upgrade...​

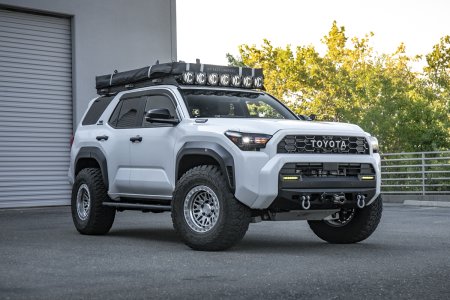
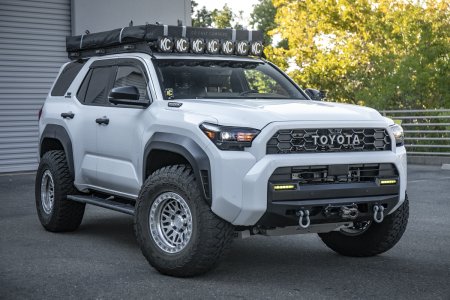
The TRD Pro grille swap was one of the most popular upgrades on the 5th Gen 4Runner, and for good reason. The installation was fast/easy, and it looked great on every trim. Although the new Pro grille looks great once it's done, it's a royal PITA to install... and I've installed lots of parts on many generations.

The actual Pro grille itself is sandwiched between a handful of layered plastics on the front bumper, requiring the removal of many plastic trim pieces. I'll break down a general overview of the grille assembly, removal, and installation process.

We picked up a grille from KO Creations. Find it here: https://kocreations.shop/

It's not an OEM grille, but the quality was definitely worth the cost. It looks great once everything is installed.

TOYOTA Grille Letter Assembly​

TRDPROGRILLE_11.jpg


TRDPROGRILLE_15.jpg

TRDPROGRILLE_17.jpg

TRDPROGRILLE_20.jpg

TRDPROGRILLE_22.jpg


Start by assembling all the letters on the grille. They can only be installed one way. Once you get an idea of how letters go on the grille, you can start to adjust the T letters so that they're even with the other letters. The T letters can be adjusted from side to side, and the other letters are somewhat locked into place.

Secure Letters to Grille​

TRDPROGRILLE_27.jpg

TRDPROGRILLE_32.jpg


Once you figure out the letter placement, turn the grille over and line up the plates that match with each letter. Once the plates are lined up, use the provided screws to secure the plates to the back of each letter.

DO NOT USE AN IMPACT OR DRILL.

If you use an impact or drill, you risk stripping out one of the mounting points. Only use a screwdriver and slowly screw them all into place until each plate is firm against the letters.

Remove Grille Shutter​

TRDPROGRILLE_35.jpg


Remove the grille shutter by disconnecting the 6 10mm bolts holding it in place. Then disconnect the harness and set the grille shutter to the side.

Remove Side Plastics​

TRDPROGRILLE_42.jpg


Remove the side plastics and disconnect the sensors. Set them to the side.

Loosen clips​

TRDPROGRILLE_36.jpg


Now, start to get an idea of how the clips attach to the plastics. You will need a few flathead screwdrivers to work multiple clips at a time in order for the clips to pop out.

It works best if you start from the outside and work your way inside.
 
Last edited:

Separate Plastics​


TRDPROGRILLE_44.jpg


Start from the corners, and once you have one of the outside corner clips out, you can work your way towards the center of the grille.

Remove Top Bumper Plastic​

TRDPROGRILLE_49.jpg


This part was a process.

The top grille plastic cover (upper mustache) is locked into place on the lower center plastics (lower mustache) on both sides. You can see a notch in the upper mustache above. To remove it, you have to separate the lower mustache from the black sub-frame assembly, and once you have enough clearance, work the top mustache up and down, and side to side, until you can pop it out.

Remove OEM Toyota Grille​


TRDPROGRILLE_50.jpg


At this point, the OEM grille is still locked into place via the bottom mustache tabs. Again, start from the edges and work your way towards the center. After all the tabs are loose, remove the OEM center grille.

Insert New Grille​

TRDPROGRILLE_55.jpg


Now install the new center grille and just reverse the installation process from the last step back to the first. Make sure every tab is perfectly seated at each step, or else you will have to go back through, remove plastics, and start the install over again.

Give yourself a good amount of time for installation on this grille.
 
Last edited:
I recently ordered one of these KOCreations heritage grilles for my TRD ORP Hybrid.

I like the matte finish because it matches the rest of the ORP trim (unlike the OEM TRD PRO grille which is glossy)

The main weakness with the KOCreations grille is the paint on the TOYOTA letters. It is thin, prone to scratches, dissolves in isopropyl alcohol, and doesn't exactly match the paint color on my Cutting Edge Silver 4Runner. It didn't seem like it would hold up well over time — especially being on the front of the vehicle with rock chips, bugs, and other things potentially damaging the finish over time.

IMG_1448 copy.jpeg

So, I decided to paint the letters to color-match the rest of my 4Runner and make them a bit more durable and attractive.

I took the TOYOTA letters and sanded them lightly with 1000 grit sandpaper to remove the existing paint and prep the plastic surface.

I used a sequence of four products to apply a quality, lasting finish that perfectly matches the factory paint and gloss finish.

IMG_1441.jpeg

I used Rust-oleum Adhesion Promoter to create a solid base that is bonded to the plastic lettering and should resist weathering or peeling.

Next, I applied a light coat of Rust-oleum Primer Sealer to create a suitable substrate for the paint.

After that, I applied 3 light coats of TouchUp Direct 1L0 Cutting Edge Metallic paint to match the 4Runner exterior.

And finally, I applied 3 layers of the TouchUp Direct Clear Coat finish to bring it to a beautiful high gloss finish.


IMG_1412.jpeg

IMG_1447 copy.jpeg


It's an easy project and is definitely worth doing *before* you install the grille, as it would be quite difficult to remove the letters later.
 
Last edited:
Turned out great, any installed pics?


Has anyone seen a HERITAGE Grille emblem like this? I can't find another one like it. Even the dealership doesn't know what it is. It has a plastic outer part but the inner is rubberish material. The build sheet doesn't specify anything but "Badge Insert-Fr TOYOTA Matte Black - $189.00" Anyone Know if the overlay's fit over these or if anyone has different colors for the inner rubberish part? Love to do the inner part in red.


1763495167750.png


1763495552608.png


.
 
Turned out great, any installed pics?
I'll post some pics once I've mounted the grille. I'm doing a CBI bumper install along with an EVO 10-S winch and some other lighting stuff soon, and I only want to remove the front bumper once, so I'm waiting to do it all in one go.
 

New Threads

The flush mount SideCast lights are probably...
Yo guys, Just wrapped up a post on...

Recent

The flush mount SideCast lights are probably my favorite thing on this rack. The are perfect for...
Ok guys, which bumper do you prefer? Dissent Off-Road High Clearance Rear Bumper Nguyen...
If you want a FREE 6G4R.com decal, comment below with "6G4R.com Decal". That's it. Each free...
Heads-Up for Anyone Upgrading a Non-JBL Audio System (SR5) Just finished upgrading the entire...
What's up, guys... Anyone with a non-premium interested in running this head unit? CTH is...
Wife doesn’t like all the shiny iforce or platinum emblems. Can anyone confirm which emblems...
Yo guys, Just wrapped up a post on Trail4Runner. Just a general review of the soft shackle...
TRD Pro Grille Swap on 6th Gen 4Runner - Not Fun, but worth the upgrade... The TRD Pro grille...
Just picked up my new Trailhunter, and I love it so far! One thing I can't figure out though is...
Cali Raised is already on it making MOLLE panels for the new 6th Gen Toyota 4Runner. They got...
This 2025 Toyota 4Runner I just purchased will be my vehicle I use for long road trips (3...
Check Out The Beat-Sonic Amp Here: https://www.beatsonicusa.com/?ref=TRDJON Just dropped in the...

Similar

Back
Top